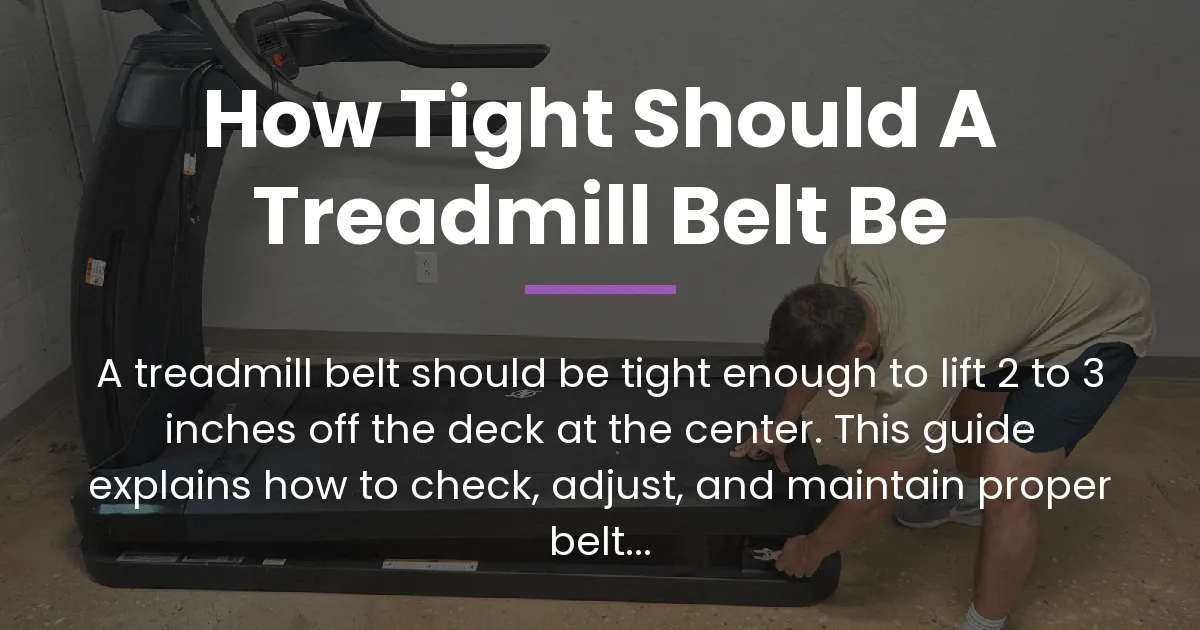
If you want your treadmill to run smoothly and last for years, knowing how tight the belt should be is the most important piece of maintenance knowledge you can have. The universal and correct answer is that a properly adjusted treadmill belt should lift approximately 2 to 3 inches off the running deck when you pull up on it from the center. This simple measurement is the key to preventing slipping, protecting your machine’s motor, and ensuring every workout feels secure and effective. Let’s break down exactly what that means and how to achieve it.
The Treadmill Belt Tightness Test
Before you grab any tools, you need to know how to check your current belt tension. This quick test is your starting point for all adjustments and troubleshooting. It’s a simple physical check that tells you everything about the current state of your belt’s tightness.
How to Perform the Lift Test
First, make sure your treadmill is completely turned off and, for maximum safety, unplugged from the wall. You will be putting your hands near the belt and rollers, so this step is non-negotiable. Find the center point of the running belt, which is halfway between the front roller near your feet and the rear roller near the motor cover.
At that center point, use your fingers to lift the belt straight up. Apply a firm but gentle upward pull. You are not trying to force it; you’re checking for its natural resistance. Once the belt stops lifting easily, hold it there and look at the space you’ve created between the underside of the belt and the solid running deck underneath it.
Use a ruler or a tape measure to check this gap. The exact distance from the deck to the belt is your tension measurement. This entire process takes less than a minute and gives you a clear, objective number to work with.
What Your Measurement Means
Your measurement falls into one of three categories, each with clear implications for how your treadmill will perform. The following table summarizes what you need to know instantly.
| Measurement | Diagnosis | What You Might Notice |
|---|---|---|
| Less than 2 inches | Belt is Too Tight | The treadmill feels sluggish, the motor sounds strained, and your joints may feel more impact. |
| 2 to 3 inches | Belt Tension is Correct | The belt runs smoothly, without slipping or dragging, providing a consistent feel underfoot. |
| More than 3 inches | Belt is Too Loose | The belt may slip or stall under your weight, feel unstable, or pull to one side. |
If your measurement is outside the ideal 2 to 3 inch range, you need to make an adjustment. If it’s within that range but you’re still having problems, the issue might be related to tracking or lubrication, which we will cover in detail later.
Why Correct Belt Tension is Critical
You might wonder why a specific inch or two matters so much. It’s not an arbitrary rule. The 2 to 3 inch standard is a careful balance between grip and freedom, engineered to protect both your machine and your workout. Ignoring it leads to predictable and often expensive problems.
Problems from an Overly Tight Belt
A belt that is too tight puts constant, excessive strain on the heart of your treadmill. The electric motor has to work much harder to turn the rollers against that high tension, which can lead to the motor overheating and burning out prematurely. This extra load also stresses the bearings inside the rollers, causing them to wear out faster and create grinding noises.
For you, the user, a tight belt has a direct impact on your workout and body. It reduces the intended cushioning system of the deck. Instead of the belt having a little give to absorb your footstrike, it becomes a rigid surface. This transfers more shock to your ankles, knees, and hips, which can lead to discomfort or potential injuries over time. It also creates more friction on the underside of the belt, leading to burns or heat damage and unnecessary wear.
Problems from an Excessively Loose Belt
On the other end, a belt that is too loose creates immediate safety and performance issues. The most common and dangerous symptom is slipping. When you step down with force during a run, a loose belt can briefly stop moving or jerk under your foot. This ruins your rhythm and can easily cause a fall.
A loose belt also rarely stays centered. It will tend to drift to one side, a problem called poor tracking. This causes the belt to rub against the side rails, wearing down the edges of the belt quickly and creating a loud scraping sound. Furthermore, the drive system has to constantly struggle to grip a wobbly belt, which wastes energy and still strains the motor over the long term.
Adjusting Your Treadmill Belt
Now that you know how to check and why it matters, here is the step-by-step process to correct your treadmill belt tension. With a little patience, this is a task most people can do at home.
Tools and Preparation
You typically only need one tool: a hex key, often called an Allen wrench. The correct size is almost always provided by the manufacturer in the treadmill’s toolkit. If you’ve lost it, the size is commonly 4mm, 5mm, or 6mm. You can find the adjustment bolts at the very back of the treadmill, one on the left and one on the right, where the rear roller is mounted. Ensure the treadmill is off and unplugged before you start.
The Step-by-Step Adjustment Process
- Loosen Both Bolts: Insert your Allen wrench into the left rear adjustment bolt. Turn it counter-clockwise (lefty-loosey) about two full turns to loosen it. Move to the right rear bolt and do the exact same thing. This relieves the tension so you can make fine adjustments.
- Visually Center the Belt: Look down the length of your treadmill. The belt should be roughly centered over the deck. If it’s obviously closer to one side, you can gently push it toward the center with your hand. Do this before you start tightening.
- Tighten in Small, Equal Steps: This is the most important part. Turn the left bolt clockwise (righty-tighty) ONE HALF TURN. Then, move to the right bolt and give it an identical ONE HALF TURN. Always adjust both sides equally. This keeps the belt centered while increasing tension.
- Check and Repeat: After every two or three half-turns (so about 1 to 1.5 full turns total), stop and perform the lift test again. Measure the gap. Continue this pattern of small, equal adjustments followed by a tension check until the belt lifts to that perfect 2 to 3 inch height.
Verifying and Adjusting Belt Tracking
Belt tension and belt tracking are adjusted with the same bolts, but they are two different things. Tension is about up-and-down play; tracking is about left-and-right centering. After you set the tension, you must check the tracking. Plug the treadmill back in.
Stand to the side of the machine. Start the belt at a very slow speed, like 1 or 2 miles per hour. Watch the belt as it moves over the rear roller. It should run perfectly centered. If it drifts to the left, it means the left side is slightly tighter. You need to make a micro-adjustment: turn the LEFT adjustment bolt a QUARTER TURN counter-clockwise to loosen it, or turn the RIGHT bolt a QUARTER TURN clockwise to tighten it. Do the opposite if it drifts to the right. Make only one tiny adjustment at a time, then observe. It may take a few tries to get it to run perfectly straight.
Factors Influencing Ideal Belt Tension
While the 2 to 3 inch rule is the standard, a few real-world factors can influence where in that range your belt performs best. Understanding these nuances turns you from someone who follows instructions into someone who truly understands their machine.
User Weight and Workout Intensity
The rule is designed for an average user, but your specific use matters. A person who weighs close to the treadmill’s maximum weight capacity will press the belt down more during a run. For them, a tension closer to 2 inches (the tighter end of correct) can provide a more stable, secure feel and help prevent belt hesitation under their full weight.
Conversely, a lighter user or someone who primarily walks might find that a belt set to 3 inches (the looser end of correct) feels just fine and puts less constant drag on the motor. Similarly, a seasoned athlete doing high-speed sprints may prefer a slightly tighter setting for instant belt response, while a casual walker would never notice the difference.
The Crucial Role of Proper Lubrication
This is the most overlooked connection. Belt tension and deck lubrication work as a team. The lubrication reduces friction between the belt and the deck. If the deck is dry, friction is high. This makes a correctly tensioned belt feel like it’s too tight because the motor is straining to pull it over a sticky surface.
Before you decide to loosen a belt that feels tight, check your lubrication schedule. A well-lubricated deck allows the belt to glide smoothly, so the motor only has to fight the tension you set, not excess friction. Always lubricate your treadmill as recommended by the manufacturer before making final tension judgments.
Belt Tightness vs. Drive Belt Tension
It’s easy to get confused here. When people ask “how tight should a treadmill belt be,” they are almost always talking about the main running belt you walk on. That’s the one with the 2 to 3 inch rule.
Your treadmill also has a drive belt (or sometimes a drive motor). This is a smaller, toothed belt inside the motor cover that connects the motor to the front roller. It has its own separate tension requirement, usually checked by pressing on it to see how much it deflects. Problems with the drive belt cause different symptoms, like a squealing noise or the motor spinning but the belt not moving. Do not adjust the drive belt thinking it will fix a loose running belt; they are separate maintenance tasks.
Maintaining Optimal Belt Condition
Adjusting the belt is not a one-time fix. It’s part of an ongoing relationship with your fitness equipment. Integrating a few simple checks into your routine keeps everything in top condition.
A Simple Treadmill Maintenance Schedule
You don’t need to obsess, but a regular schedule prevents big issues. Once a month, give your belt a quick visual inspection and a fast lift test to ensure it hasn’t drifted out of range. Clean the deck and belt surface with a damp cloth to remove dust and salt from sweat, which can act like sandpaper.
Lubricate the treadmill according to your owner’s manual, which is often every 130 miles or every 6 months for regular use. If you use the machine heavily, consider a more thorough check every six months, looking for uneven wear on the belt or deck. This proactive care is the best way to ensure smooth safe operation for years.
When to Call a Professional
While belt tension is a great DIY task, some problems signal a bigger issue. If you cannot get the belt to track correctly no matter how carefully you adjust, there could be a worn roller or a frame alignment problem. Visible cracks, fraying, or permanent wrinkles in the belt mean it needs replacement, not adjustment.
Any loud, grinding, or burning smells coming from the motor area are a sign to stop and seek help. If your treadmill is still under warranty, also check the manual, as some manufacturers require a certified technician for certain adjustments to keep the replace guarantee valid.
Frequently Asked Questions
Is a new treadmill belt set too tight from the factory?
Yes, often it is. Manufacturers frequently ship treadmills with the belt on the tighter side. This accounts for the initial stretch and settling that happens during the first few hours of use, known as the break-in period. You should perform your first tension check after about 3-5 hours of total use.
How does belt tension differ from belt tracking?
Belt tension refers to how much vertical slack or tightness the belt has, measured by the lift test. Belt tracking refers to how straight the belt runs from left to right. They are adjusted with the same bolts, but correcting one can affect the other, which is why you must check both after any adjustment.
Can a belt be too loose even if it passes the lift test?
Yes, but it’s rare. The lift test is very reliable. However, if the belt is old, glazed, or the deck is very worn, it might still slip under weight even with correct tension. This points to a need for lubrication, deck rotation, or part replacement, not further tightening.
Should belt tension be checked with the treadmill on or off?
Always check and adjust belt tension with the treadmill powered off and unplugged. You will have your hands near the moving parts and rollers, so safety is the absolute priority. Only plug it in to check tracking at a slow speed after adjustments are made.
What are the signs of a too-tight treadmill drive belt?
A too-tight drive belt, which is inside the motor cover, will cause a high-pitched whining or squealing sound, especially when the treadmill first starts. It also creates extra pressure on the motor bearings, leading to premature wear. A too-loose drive belt will cause slipping, where the motor spins but the belt doesn’t move consistently.
My belt is at the right tightness but still slips. What now?
If tension is correct but slipping persists, the most common culprit is a lack of lubrication on the deck. The belt is sticking to a dry surface and then jerking loose. Clean and lubricate the deck according to your manual. If that doesn’t work, the belt or deck surface may be worn out and need replacement.
How often should I check my treadmill belt tightness?
A good rule is to do a quick lift test once a month. Belt tension can change over time due to normal stretching, temperature changes in the room, and the constant impact of your workouts. Regular checks let you catch a problem long before it causes a bad workout or damages the machine.
Will adjusting the belt tension void my treadmill’s warranty?
In almost all cases, no. Basic user maintenance like belt tension and tracking adjustment is expected and will not void the warranty. However, always refer to your specific owner’s manual for confirmation. Warranties are usually only voided by unauthorized repairs or modifications to electrical components.
Does the running belt tightness affect the motor belt?
Not directly. They are two separate systems. However, an extremely tight running belt forces the main motor to work much harder. This extra strain can, over a very long period, contribute to general wear on the motor and its connected parts, including the drive belt system. Keeping the running belt correctly tensioned protects the entire machine.
What tools do I need to adjust my treadmill belt?
Ninety-nine percent of the time, you only need the correct size hex key or Allen wrench. This is almost always included with the treadmill. If not, the size is usually between 4mm and 6mm. Some rare treadmill models might use an open-end wrench instead. Your owner’s manual will specify the exact tool.
Understanding how tight a treadmill belt should be is the most essential part of owning a home treadmill. It’s not a mystery or a complex engineering puzzle; it’s a simple 2 to 3 inch measurement that you can check in seconds. By mastering this lift test, learning the adjustment process, and understanding the role of lubrication and tracking, you take full control of your machine’s health. This knowledge ensures every run is smooth, protects your investment from unnecessary wear, and gives you the confidence that your equipment is ready for a safe and effective workout whenever you are. Proper belt adjustment is the foundation of all other maintenance tasks, keeping your high-performance machine in optimal condition for every fitness level.